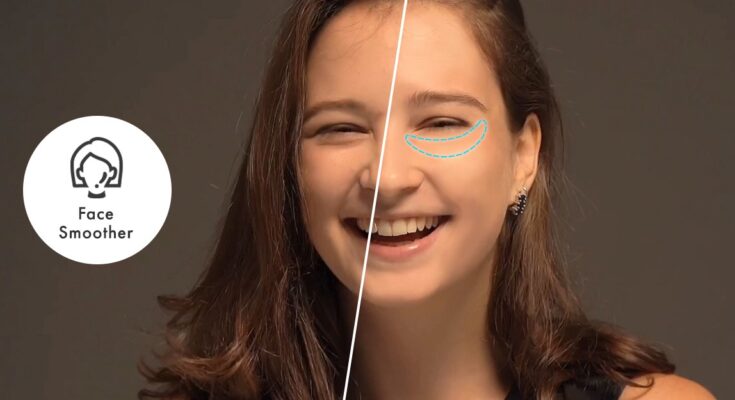
In the digital age, smooth face editing has become a staple for photographers, influencers, and casual users alike. Whether you’re polishing up a selfie for social media or fine-tuning a professional portrait, achieving a smooth and natural look is the ultimate goal. Here’s a comprehensive guide to the best tools, techniques, and tips for smooth face editing.
Top Tools for Smooth Face Editing
The right software can make all the difference when editing faces. Here are some of the best options:
1. Adobe Photoshop
A professional-grade tool, Photoshop offers features like frequency separation and skin smoothing filters. Use the “Smooth Skin” feature in the Neural Filters for a quick and realistic edit.
2. Lightroom
Perfect for beginners and professionals, Lightroom has simple tools like texture sliders and spot removal brushes to enhance skin texture.
3. FaceTune
This app is a favorite for smartphone users. Features like the Smooth tool and the Detail enhancer make quick edits seamless and user-friendly.
4. Snapseed
Google’s Snapseed app includes the Portrait tool, which can brighten, smooth, and add depth to facial features.
5. Canva
While not exclusively an editing app, Canva offers basic smoothing tools for those working on social media posts and designs.
Step-by-Step Guide to Smooth Face Editing
Achieving a smooth yet realistic face edit requires attention to detail. Follow these steps:
Step 1: Start with a High-Quality Image
Ensure your photo is well-lit and high-resolution. This will make editing smoother and prevent a pixelated appearance.
Step 2: Adjust Skin Tone
Use brightness and warmth adjustments to balance the skin tone. Avoid overly bright edits, as they can make the skin look artificial.
Step 3: Remove Blemishes
Use tools like the spot healing brush or clone stamp to remove acne, scars, or any distractions while retaining natural skin texture.
Step 4: Smooth the Skin
- Use AI Tools: Apps like Photoshop and FaceTune offer automated smoothing.
- Manual Adjustments: Adjust the texture, clarity, and softness sliders in apps like Lightroom for controlled edits.
Step 5: Refine Details
Enhance the eyes, lips, and eyebrows using the Detail tool to maintain sharpness and balance the smoothness.
Step 6: Avoid Over-Editing
Always aim for subtle edits to maintain a natural look. Over-smoothing can lead to an unnatural or “plastic” effect.
Pro Tips for Realistic Edits
- Maintain Texture: Completely erasing texture can make skin look fake. Use tools that refine rather than remove texture.
- Use Layers: In apps like Photoshop, work in layers to control the intensity of edits and make non-destructive changes.
- Blend Edits: Adjust the opacity of smoothing effects to create a realistic balance.
- Add a Glow: Subtle highlights can add vibrancy and life to the face.
Why Smooth Face Editing Matters
Face editing is not about changing who you are—it’s about enhancing your natural beauty and making your photos reflect the best version of yourself. Whether for personal or professional use, smooth face editing helps create polished visuals that leave a lasting impression.


